The five pieces of gear I use today to create content on the road, and why an expensive camera alone doesn’t make a good image.
Hi friends!
Today I'm presenting to you the five photography items I invested in before starting my trip, which are letting me create content with a lot of quality. Keep in mind: the equipment I mention below is professional grade, because I've worked with photography and audiovisual my whole life.
If you can't afford equipment at this level (for now), don't get discouraged! I absolutely don't want to send you the wrong message, especially because:
On its own, an expensive camera doesn't create good images.
Photography is theory and practice. What matters is being willing to learn and enjoy the process, regardless of the equipment we have at hand.
My intention is to share the equipment I'm currently using, and who knows, it might serve as a recommendation for anyone thinking about taking a step forward and investing more in the quality of their videos. Soon I want to bring content about more affordable equipment too, ok?
Watch the full content
The full kit
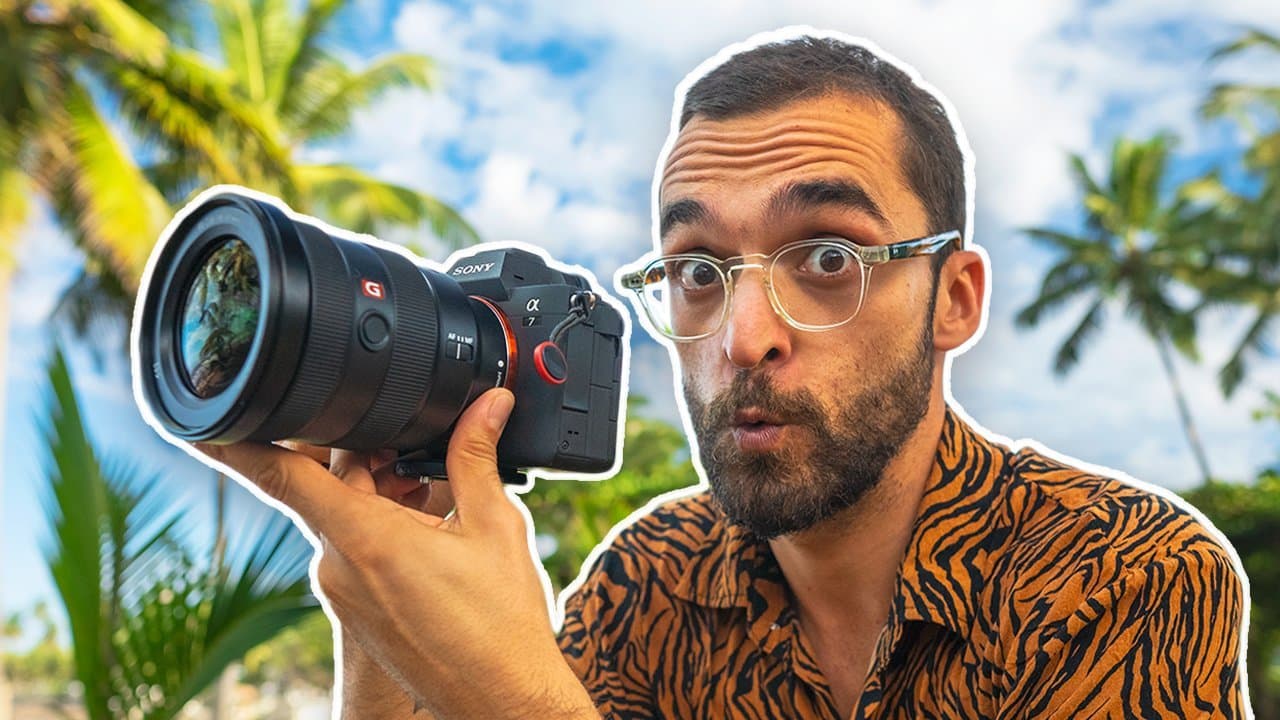
- Camera: Sony a7 IV.
- Light tripod: Fotopro X Aircross 3, carbon fiber.
- Sturdy tripod: Miliboo MTT605B, with carbon fiber legs.
- Quick release: Manfrotto quick release plate, the same plate on the camera, both tripods and the stabilizer.
- Stabilizer: an older HD 2000.
- Lavalier mic: DJI Mic, the first version, with two lavaliers and a receiver.
- Zoom lens: Sony 16-35mm f/2.8.
- Cinema lenses: Seven Artisans kit with a 35mm, 50mm and 85mm, fully manual.
- Drone: DJI Mavic Air 3.
- Editing: DaVinci Resolve Studio.
The camera I chose
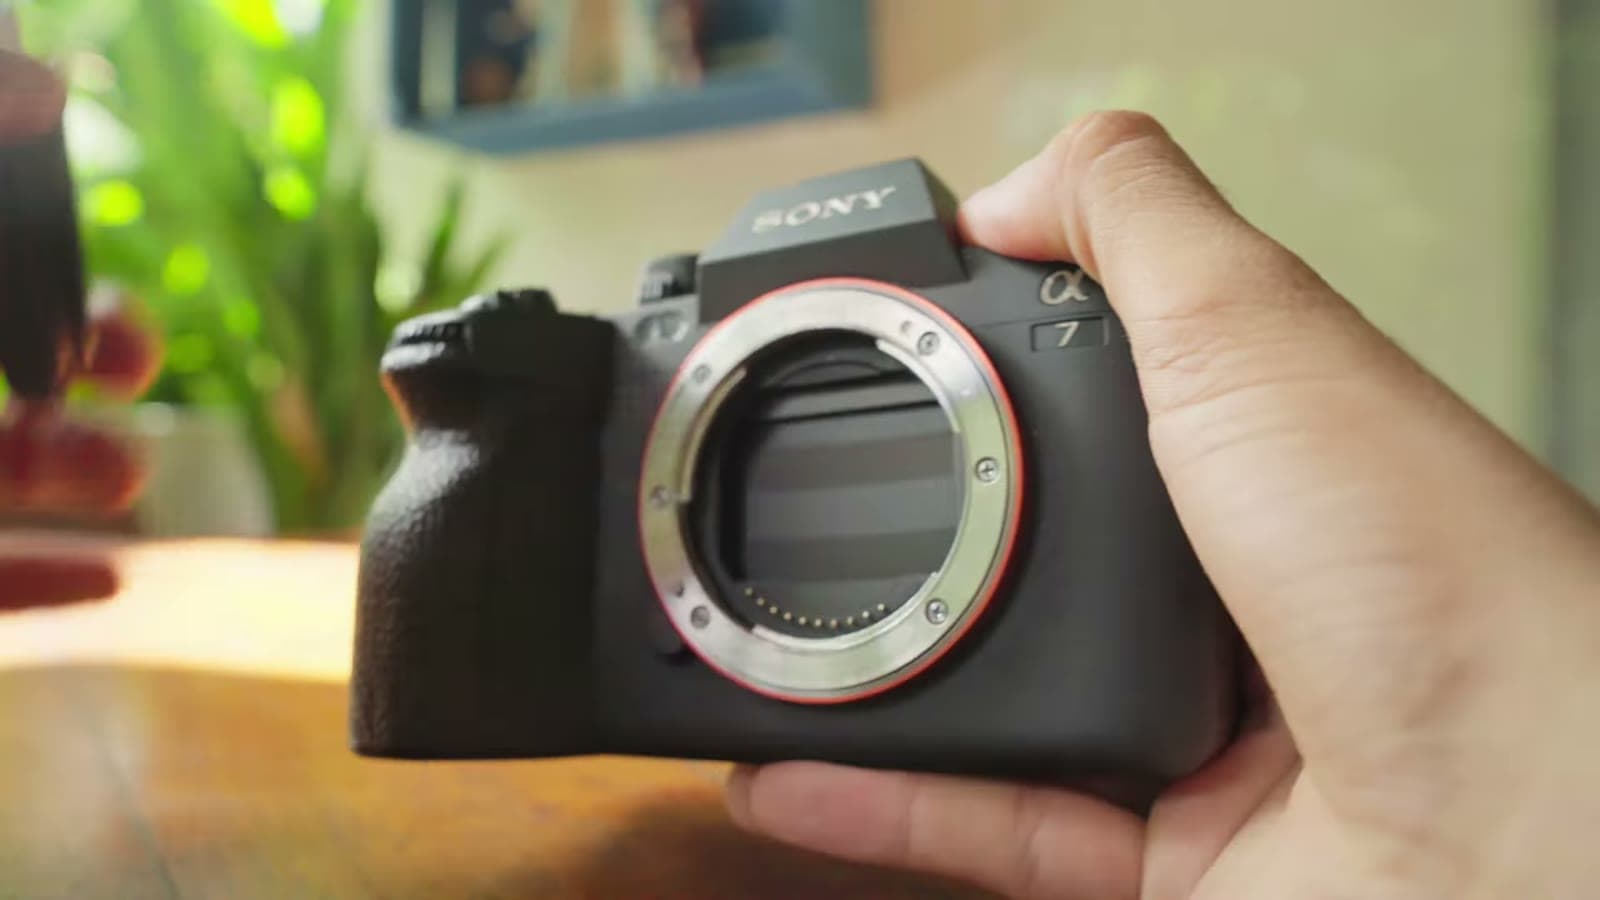
I've been working with photography for over 10 years, and I've had the chance to use brands like Nikon, Canon, Sony and Panasonic. All these companies make excellent cameras, with lots of technology. Nowadays Sony offers excellent value for money and a lot of versatility for anyone who wants to shoot photos and videos. Over the past few years I worked a lot with the Sony a7 III, which is an excellent camera, and before starting the trip I was able to invest in a Sony a7 IV, which is the camera I've been using to capture most of my images.
Great versatility
The Sony a7 IV was released in October 2021 and currently costs around ~R$ 15.000 here in Brazil. This camera is very versatile for both photos and videos. It records in 4K at 10 bits, which allows for more intense color grading of the footage. On top of that, it has a full frame sensor, which delivers high quality images and excellent depth of field.
The full frame sensor makes a difference in the background blur. Shooting at 24mm with an f/2.8 aperture, the background looks really beautiful. On an APS-C sensor, the cropped one, with the same lens and the same aperture, the depth of field would be different, and the blur back there wouldn't look as nice.
It also shoots 4K at 60 frames, which lets you do a really nice slow motion without losing resolution. Dropping to 1080, it reaches 120 frames. I rarely use 120 frames, but even when I do, it's not that obvious I'm not shooting in 4K.
Image Stabilization
The image stabilization of the Sony a7 IV is also excellent, especially when combined with a native Sony lens. This lets you film handheld, capturing incredible scenes without necessarily needing a tripod or any camera stabilization accessory.
In practice, I can just carry the camera in my little backpack with one lens and get really beautiful shots on a beach, in some open place or at an event, without drawing so much attention with big, bulky gear.
Whatever camera you use, the most important thing is to master the equipment. That's what will make your images stand out.
The importance of a tripod
Since I'm traveling alone (just with Nina), I believe the tripod is a tool that will let you do some important recordings. I'm traveling with two tripods. One lighter and more compact, so I can take it anywhere, and another sturdier and heavier one, for recordings where I don't need to move around much.
A lighter tripod
The lighter tripod I have is a Fotopro X Aircross 3 made of carbon fiber. It's a super light, compact, but sturdy tripod. It's ideal for situations where I need to walk for long stretches to get to the shooting location. I bought it on AliExpress for about ~R$ 800. Highly recommend it!
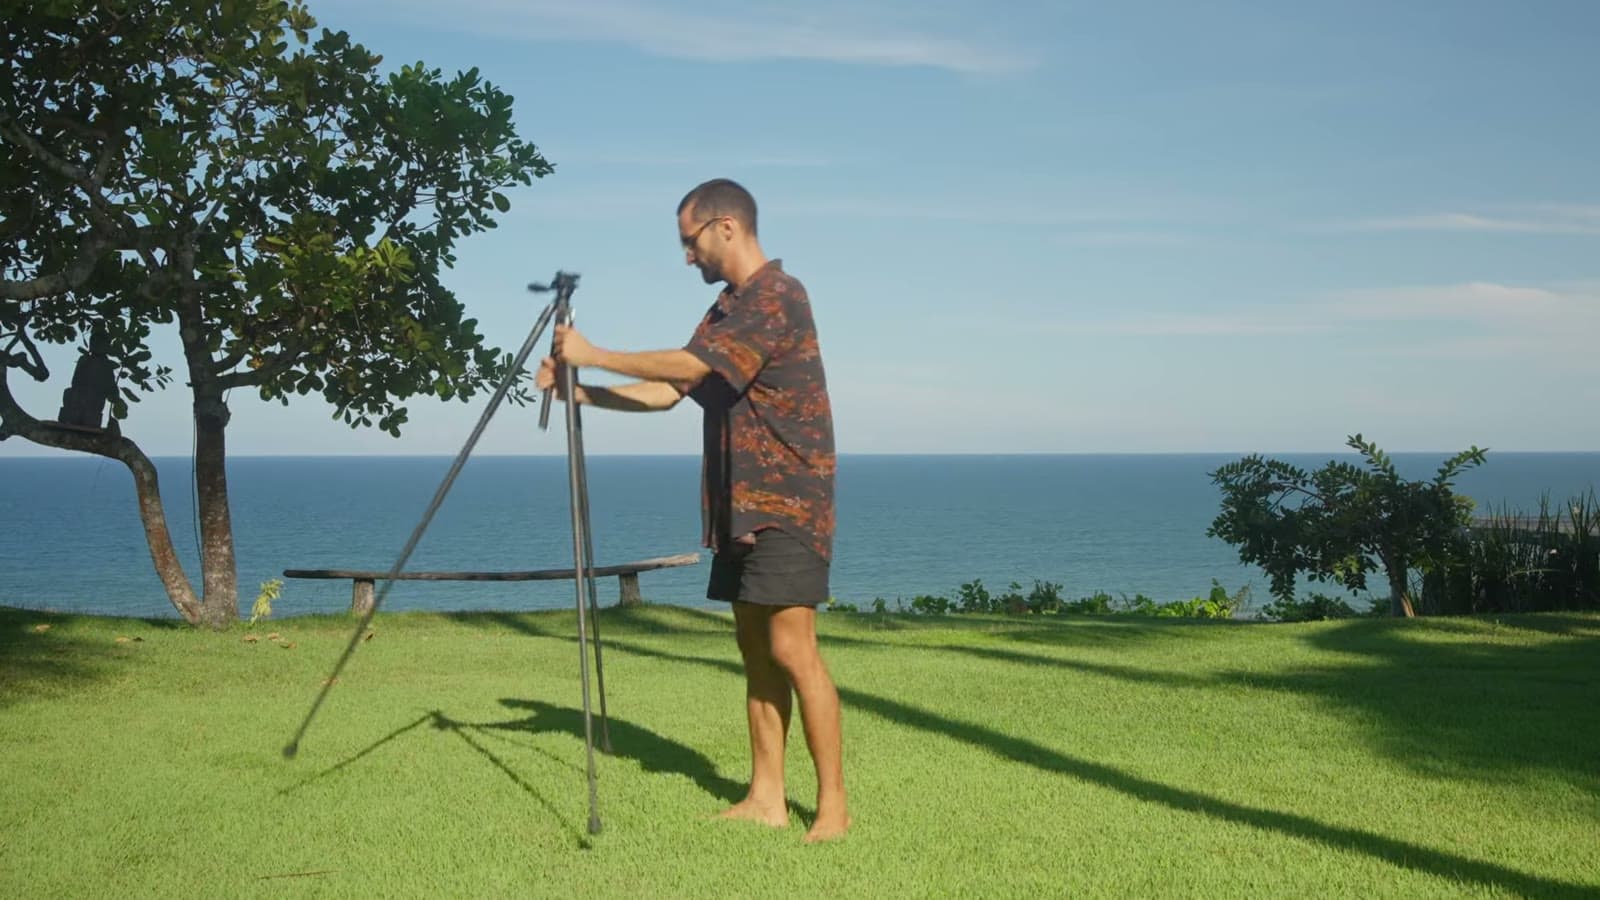
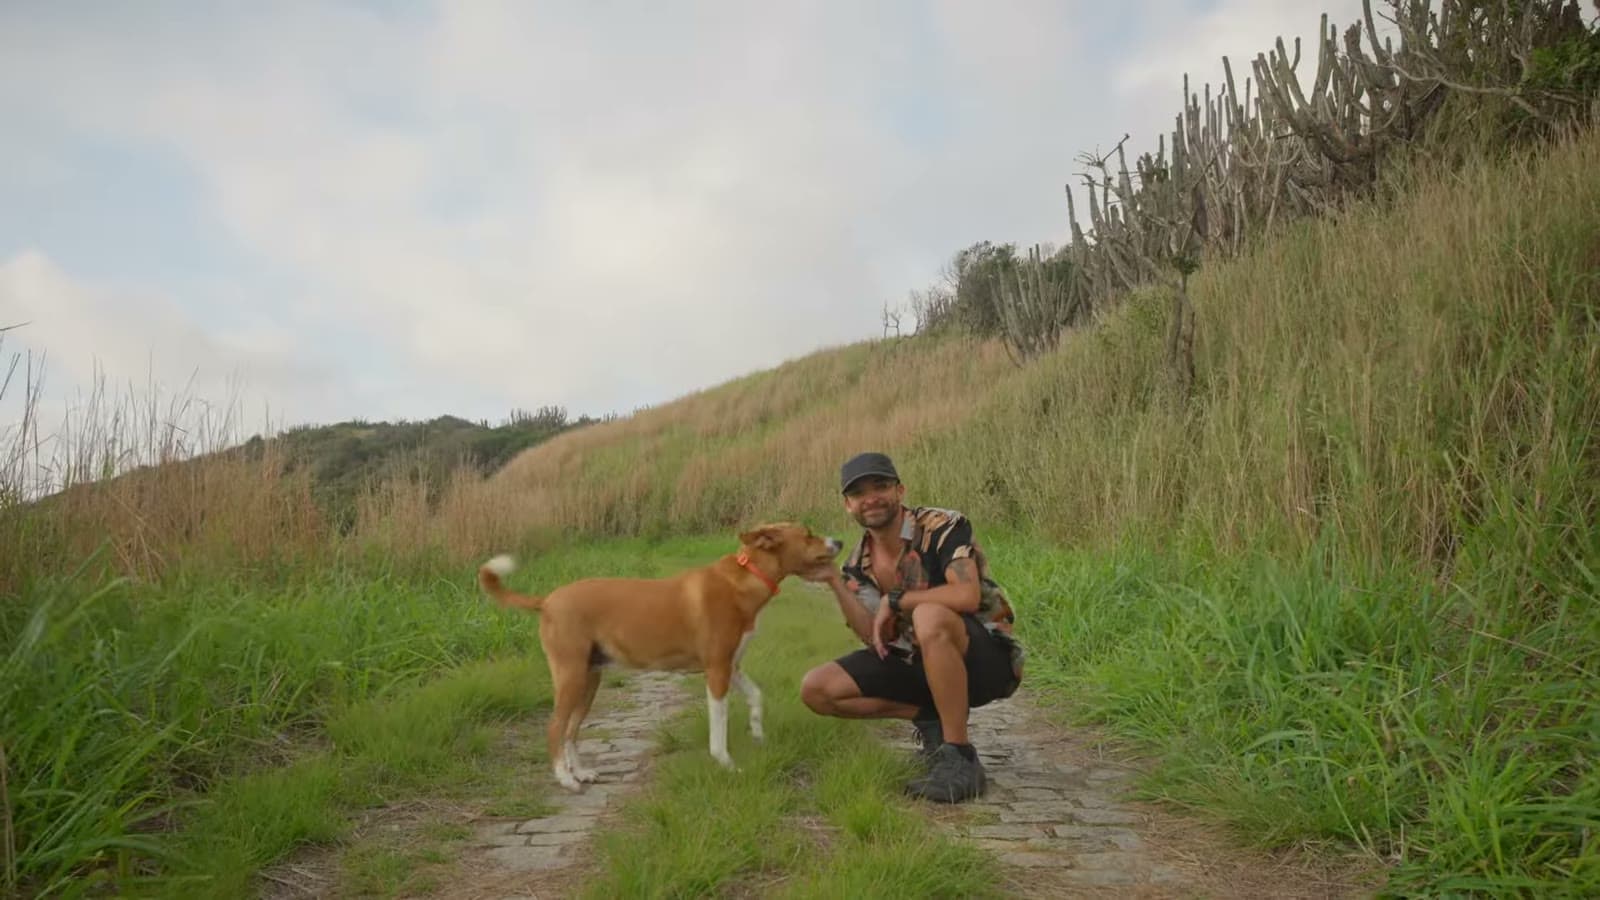
It's the tripod I use whenever I'm going to walk a lot to film, like when I go to the far end of a beach and want to get a shot there. I can even hang it on my backpack, on the side buckle, and have a locked-off camera option with much lighter gear. The downside is that each leg has three sections, and you have to open all of them, so it takes longer to get ready to shoot.
Another, sturdier one
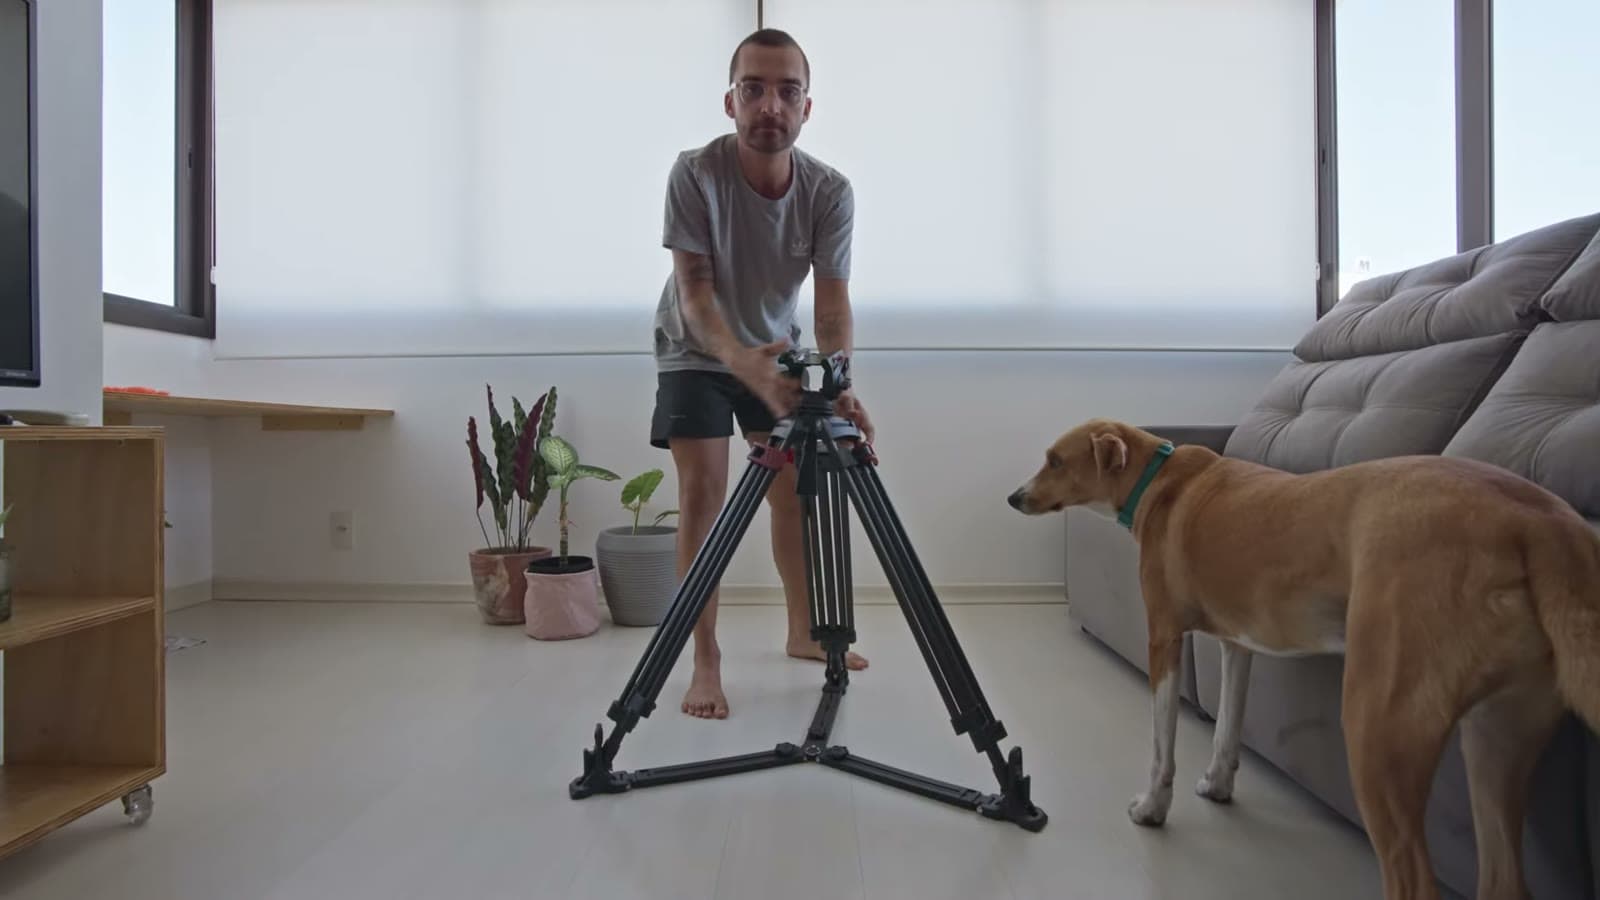
For more professional recordings, when I'm filming an interview for example, or some content in a more controlled environment, I use a Miliboo MTT605B tripod, which I also got on AliExpress, for about R$ 1.875 with shipping, plus R$ 263 in customs fees. The main advantage of this tripod is how easy it is to adjust, with a single lock on each leg, which really speeds up finding the framing you want to shoot. I highly recommend it too. It's a cheaper alternative to the Manfrotto and Benro tripods, which dominate the Brazilian market.
I've been using it for every testimonial I record: I always bring it, set it up and get the interview moment ready. Showing up with a tripod this size gives what we're doing a more professional feel, which is good on one hand and bad on the other, because it draws attention. People see a tripod like that and think a movie is being shot.
Watch the full content
The Miliboo in detail
This tripod comes in two models: the A, with aluminum legs, and the B, with carbon fiber legs, which is mine. I bought it on AliExpress and everything went fine, but it took a month to reach Brazil, sat for two more weeks at customs in Rio de Janeiro and got taxed. That's the only bad part of buying pricier, heavier gear there. Before buying, I did a lot of research, and a Manfrotto at roughly the same level wouldn't come in under R$ 4.000.
- Weight: 4.3 kg for the B model, in carbon fiber. The A model, in aluminum, is the same size and weighs 5.1 kg.
- Folded size: 85 cm tall, head included, and about 20 cm in diameter.
- Max load: up to 10 kg, according to the manual.
- Height: from 50 cm up to 1.70 m.
- Locks: just one per leg, from minimum to maximum height.
- Leveling: besides the bubble level, there's a knob under the head that fixes the horizon without touching the legs.
- Fluid head: with a quick release in the same standard and size as Manfrotto.
- Comes with: a really sturdy carrying bag, with a few accessories in the inside pocket.
It has some hard plastic parts, like almost every tripod in this category, but I was really surprised by the overall quality. I used it on a production in Uruguay, a documentary, with the full camera, a monitor and a huge lens, and it made me feel really secure. And worth saying: I didn't get anything to talk about it.
One quick release system for everything
A key detail: I installed a Manfrotto quick release plate on the small tripod. That way, with the same plate that stays on the camera, I can mount it on the sturdy tripod and on the smaller one. I also have an image stabilizer, an older HD 2000, and I put the same system on it. I can switch the camera from the tripod to the stabilizer or to the little tripod easily and quickly.
A lavalier microphone
To capture good audio, I've been using the DJI Mic. It comes with two lavaliers and a receiver, letting you record two people at the same time. It's a great alternative for anyone looking for compact, reliable equipment with excellent sound quality at a fair price.
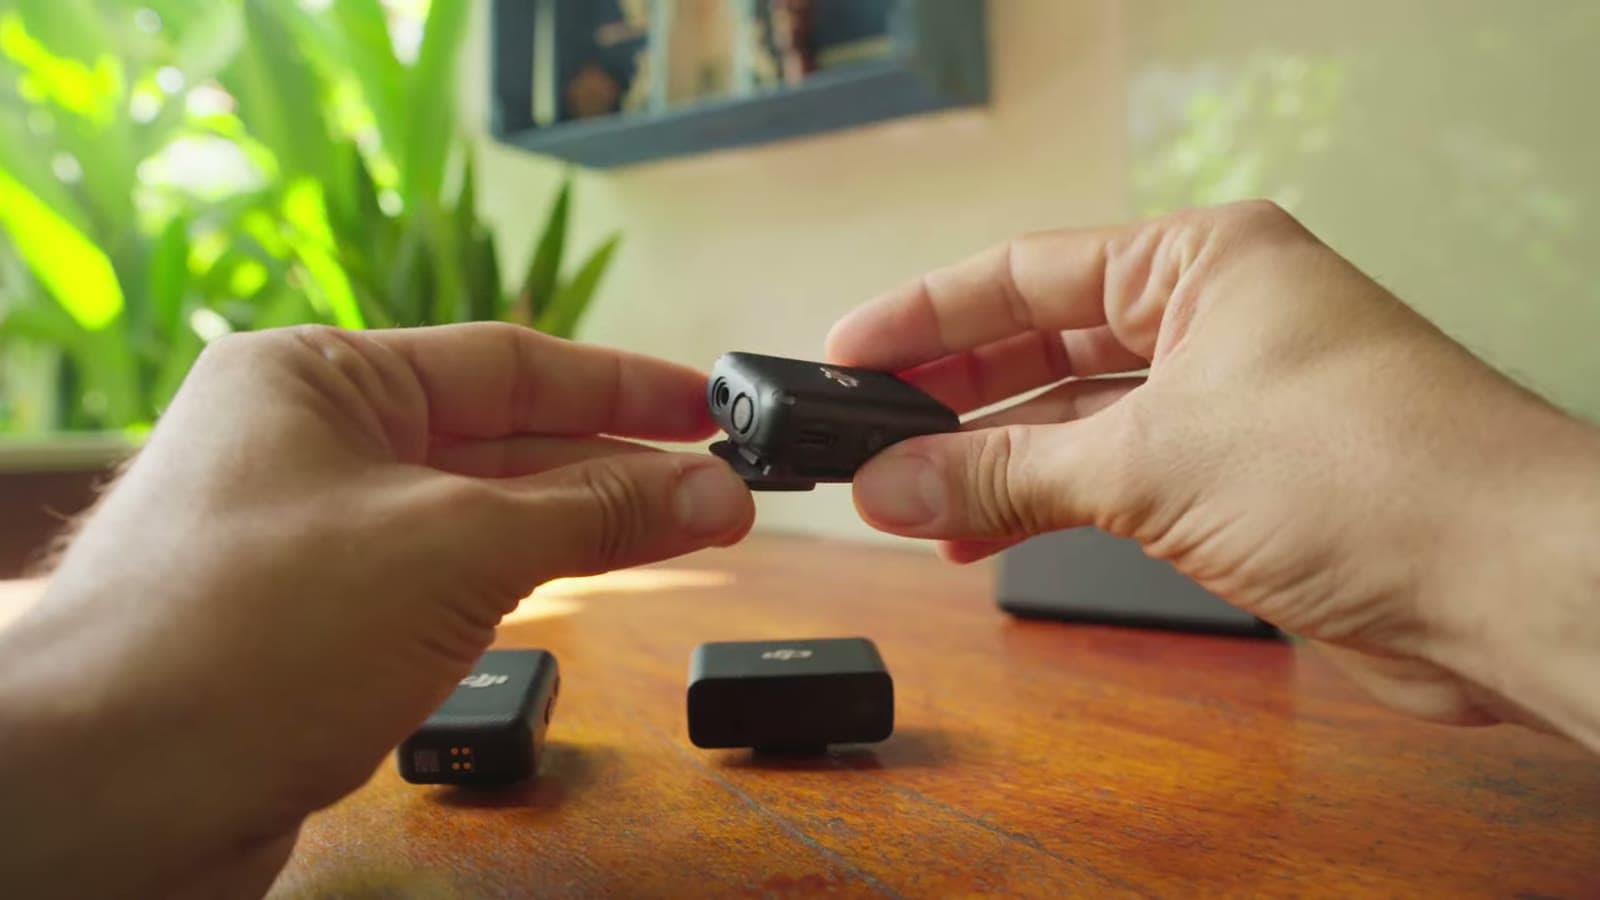
I've rarely used both lavaliers at the same time, but it's always good to have that option as a backup: if one runs out of battery or has some problem, I have the other one to guarantee the audio. Mine is the first version. DJI released the DJI Mic 2, which I haven't used yet, and for now I'm super happy with the first model, no need to upgrade.
It comes with one of my favorite accessories, the Dead Cat, that “plush” thing that protects against wind, essential to guarantee good audio quality even in outdoor recordings.
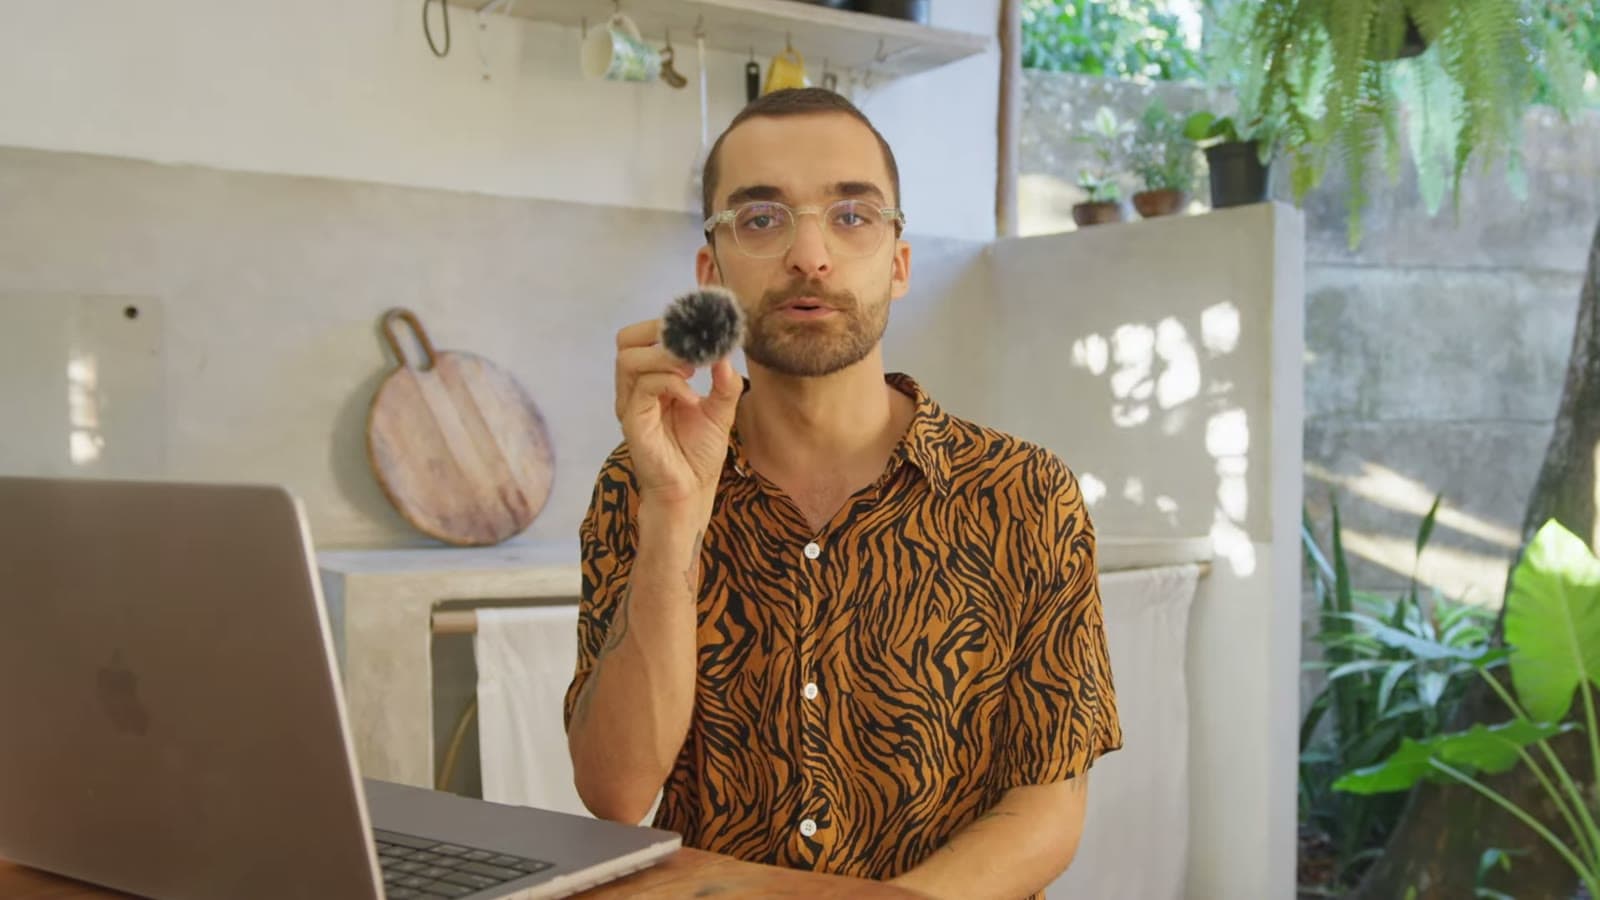
Audio processing
This microphone has been positively surprising me every time I use it, whether on the street, at the beach or in other outdoor recordings. Even more so using DaVinci Resolve Studio, the paid version of Davinci Resolve, which has a tool called Voice Isolation. This effect lets you significantly reduce the noise picked up by the microphone in any situation. It helps a lot to improve the audio of a person speaking, like an interview or any recording of that kind.
The tool is in the Fairlight tab, the audio one, and it uses artificial intelligence to understand the voice being recorded and deliver noise-free audio. I've been in lots of situations recording someone with a ton of noise around, and the combo of this little lav with Voice Isolation is just incredible.
A zoom lens
I was always the person who loved looking at every lens on the market, even without the money to buy them. Luckily, after years of working with photography, I was able to invest in a Sony 16-35mm f/2.8, which is a native Sony lens. A piece of equipment I always dreamed of having.
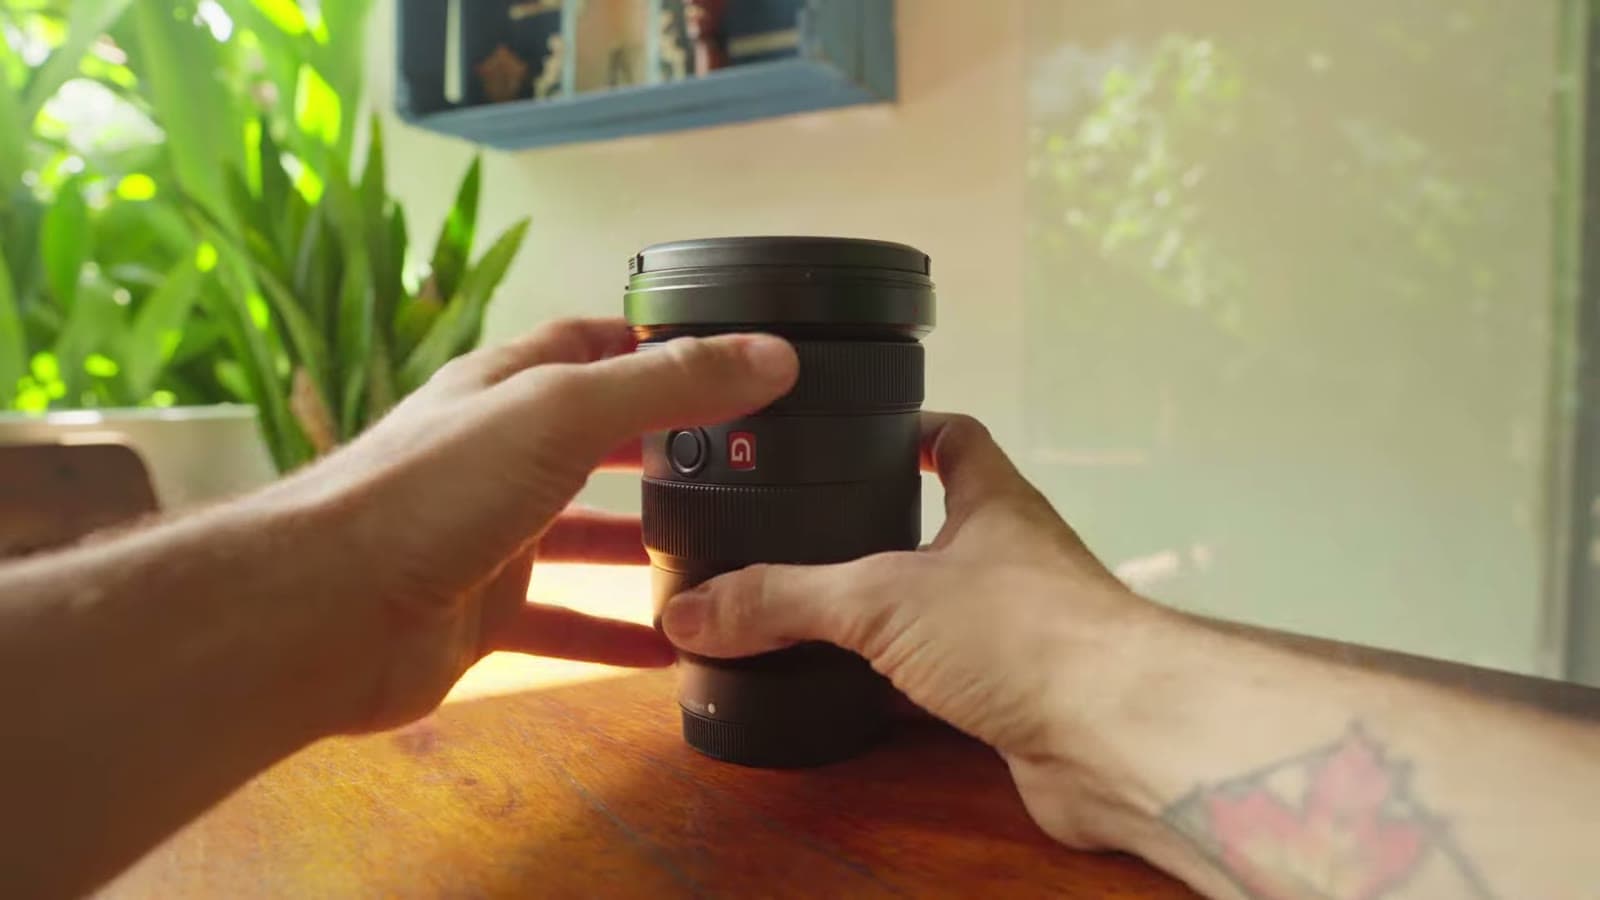
This lens is super versatile. At 16mm we have the ultra wide that lets you make grand images even in tight spaces. Plus 24mm, which I use a lot for all sorts of framings, interviews, etc. All the way to 35mm, which I also use a lot to create very realistic scenes, with little distortion at the edges.
I use 16mm a lot indoors or when I want a more architectural shot. But I avoid filming people at 16mm, especially the face of someone talking, because of the distortion.
Stabilization and compatibility
The lens stabilization, combined with the camera's, lets you capture super stabilized images, even handheld.
That lets me go out alone to film something and come back with steady shots, both at 16mm and at 35mm. And with the f/2.8 aperture, plus the really good ISO on the a7 IV, I can shoot in low light, even at night. I know it's an expensive lens, but it's really worth the investment.
I also travel with three cinema lenses from Seven Artisans, fully manual, bought on AliExpress. The kit comes with a 35mm, a 50mm and an 85mm. All of them with a T 2.0 aperture, which means a wide aperture, excellent for night scenes with a distinctive look.
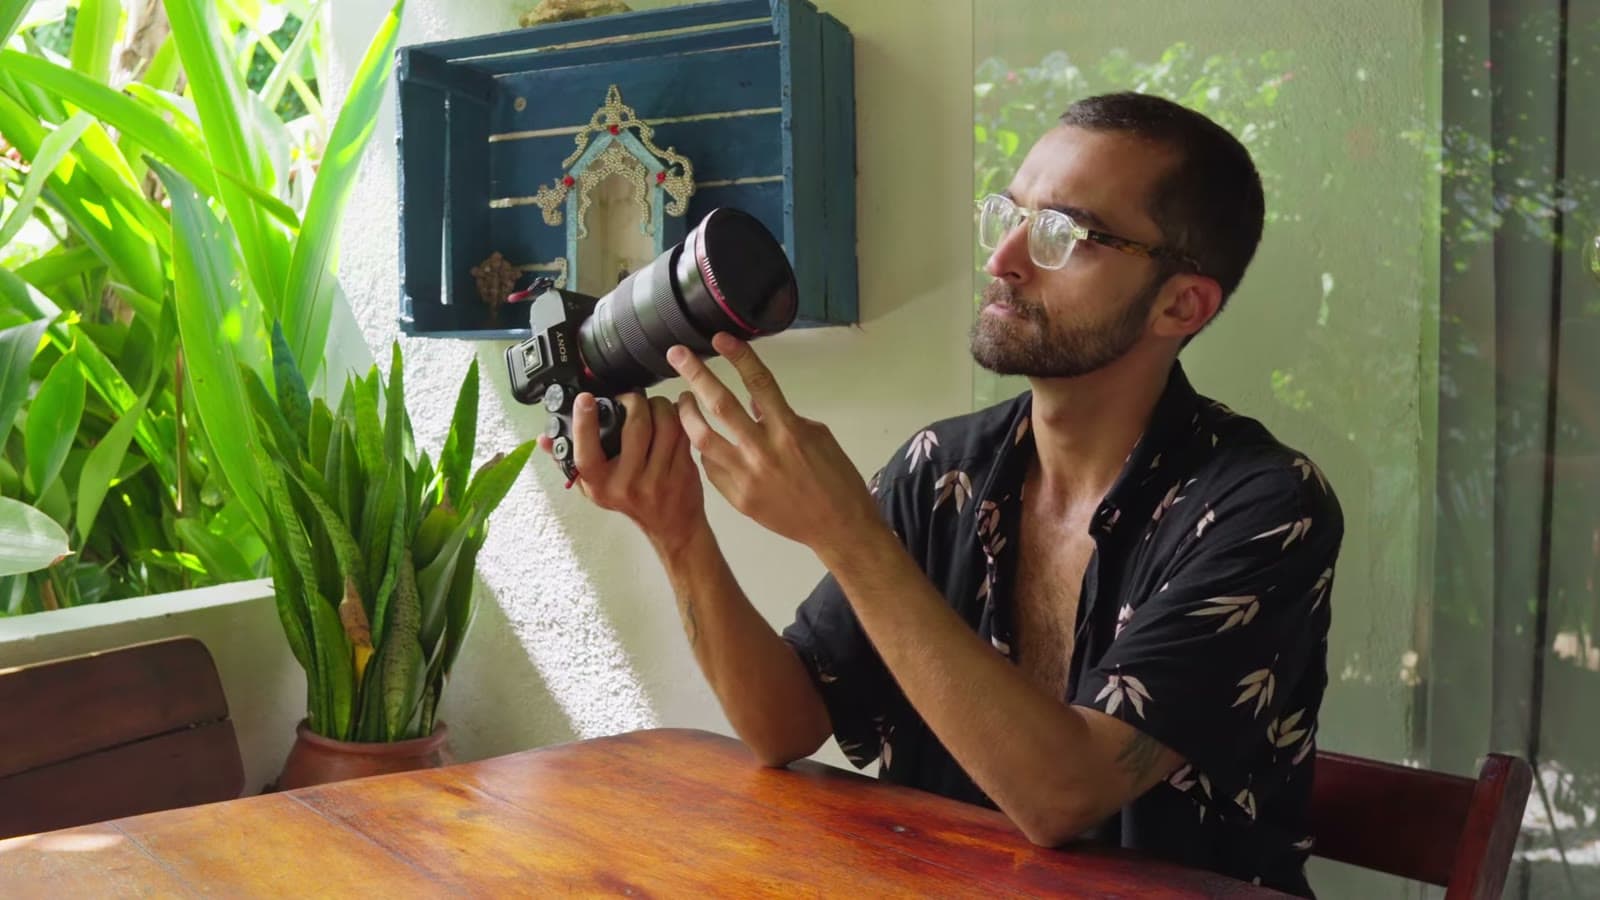
I invested in this kit about two years ago. They're Chinese lenses, cheaper, that I don't use all the time, but at certain moments they give the images a really beautiful look. I love going out at night with the 35mm or the 50mm.
The drone I chose
The drone really is an incredible tool that can raise the quality of our video content. Think about it: an image that could once only be captured using a helicopter, today it's common to capture as an aerial drone shot.
The drone I'm using is a DJI Mavic Air 3. This equipment has two cameras, with 24mm and 70mm lenses, records in 4K at 60fps and 10 bits, with a flight time of approximately 46 minutes per battery.
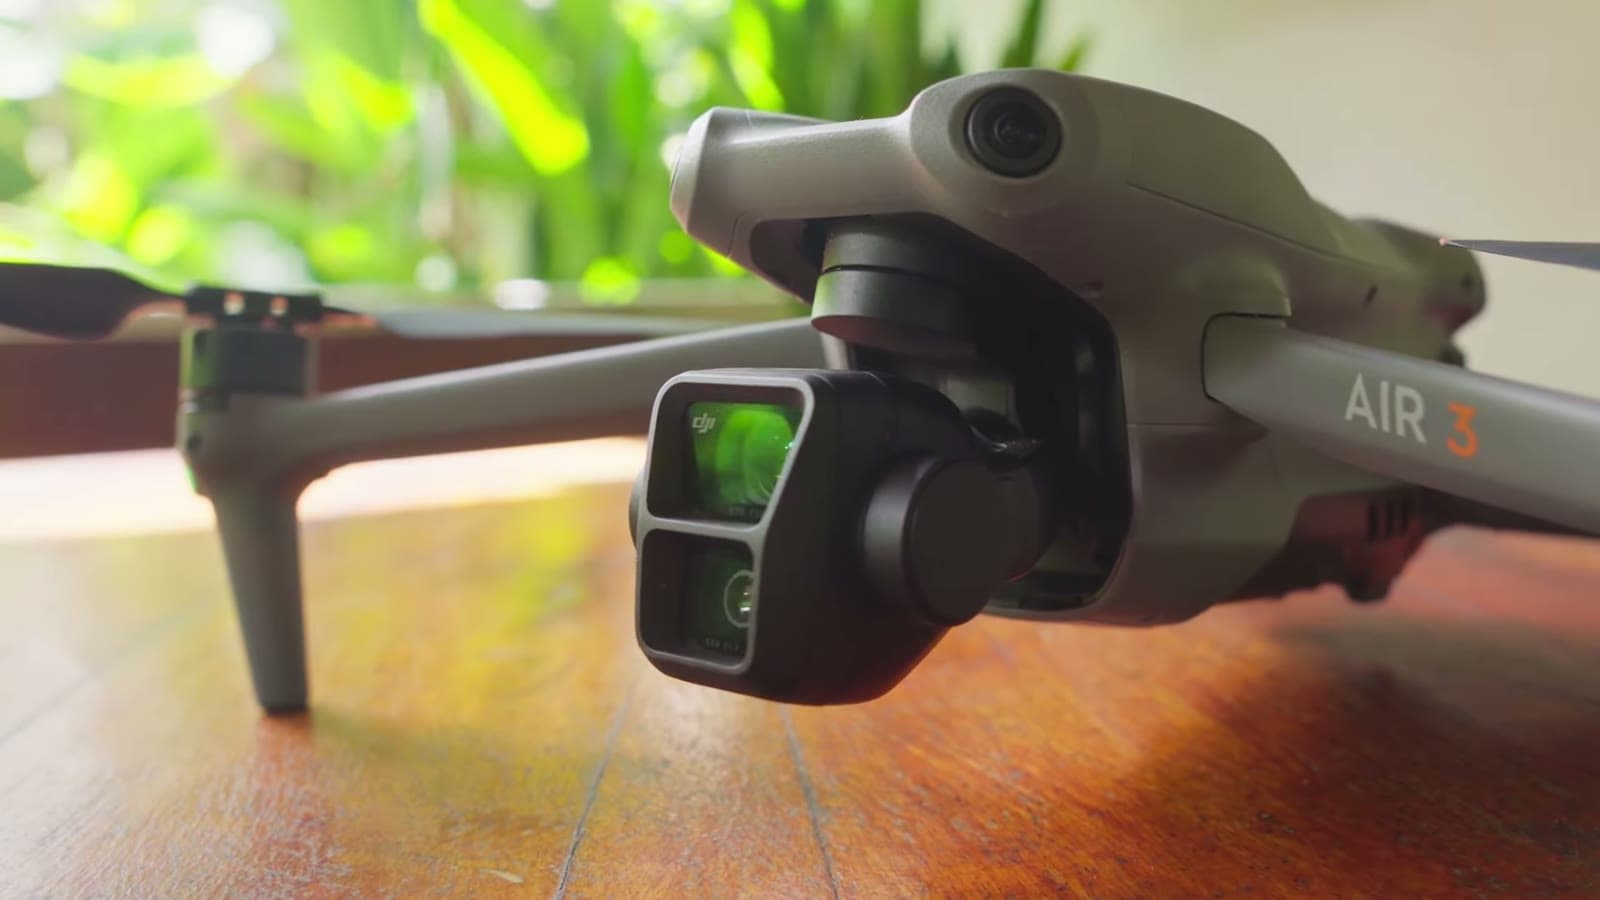
This drone costs around R$ 14.000, offering stability and high image quality. It has advanced object detection technology, allowing safe and efficient flights. The 10 bit recording quality allows for professional color grading of the footage.
The drone on the road
It's one of DJI's first drones with two cameras at different focal lengths and the same sensor quality. Before it, I had never shot aerials at 70mm, and I confess I've been using it a lot, because it makes the shot from up there more cinematic. It also has the new transmission technology between the controller and the drone, and I feel the signal is much better than on the drones I used in the past.
The 46 minutes of battery let you do a really long flight, exploring different angles and camera moves, without that pressure of "oh my God, the battery's running out, I need to head back".
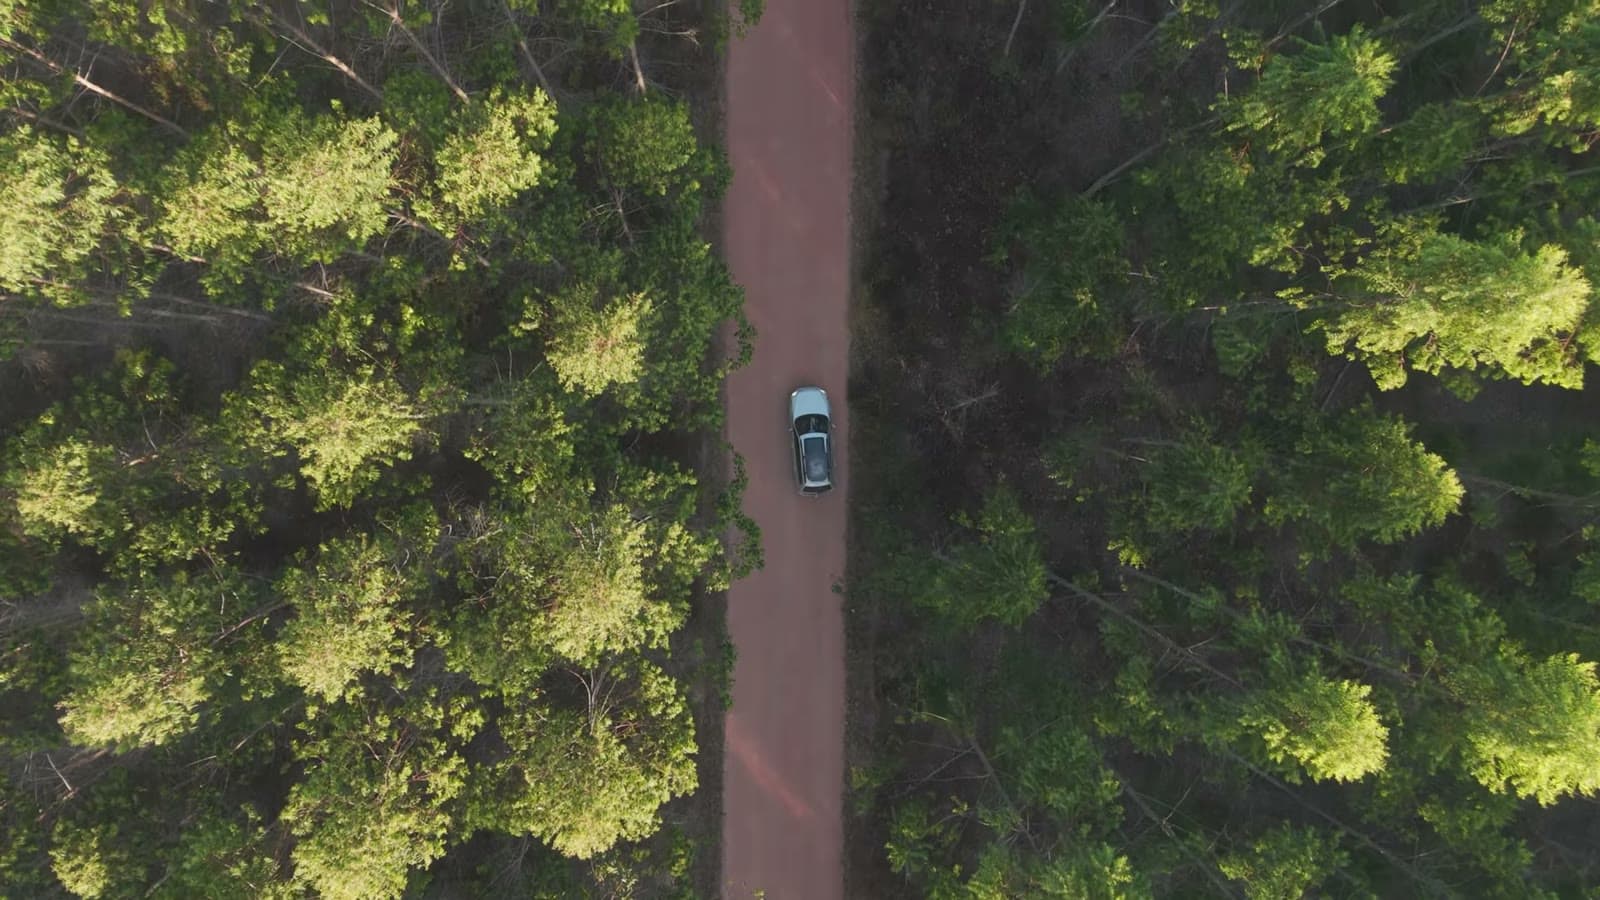
I've filmed with the drone while driving the car, to get a shot of the car on the road, and it recognizes very precisely when there's a tree or some obstacle. You can set on the controller whether you want it to stop or go around. And since both the camera and the drone shoot in 10 bits, I can create the same look across all my footage, without that gap between camera and drone.
Worth remembering
Equipment comes and goes. What really matters most is our knowledge, so we can get the most out of the equipment we have today. If you're someone who is just starting to create video content now, don't worry about having the best equipment. Know how to use the ones you have.
Tags
- # gear
- # photography
- # video
- # tips
- # quality